A blog setup is mandatory to achieve success in an online business, and if you ever thought of “How do I setup a blog website easily?” then there is a systematic way to set up your blog website for your business, personal brand or launching online stores.
This blog setup checklist will help you gain traffic and traction within a few months and you will start driving organic traffic without spending on paid ads using your own domain and website.
A strong and unique blog setup lays the foundation for:
- Website Visibility
- SEO
- GEO
- Voice search friendliness
- AI citation friendly and promotes long-term growth
Key Takeaways:
- Proper Blog setup ensures your site is ready to be indexed by search engines and can draw engagement, views, and sales
- Businesses that blog see 55% more traffic
- WordPress is one of the most powerful tools for blog setup and powers 43.4% of Global websites today and even holds 60% of CMS Global market share, offering premium support and scalability
Table of Contents
Learn How To Setup A Website From 0 To Growth
There is a systematic checklist that is made by me after 7 years of blogging experience, and it involves 11 Crucial Step-By-Step processes to build up your fully functional website using WordPress.
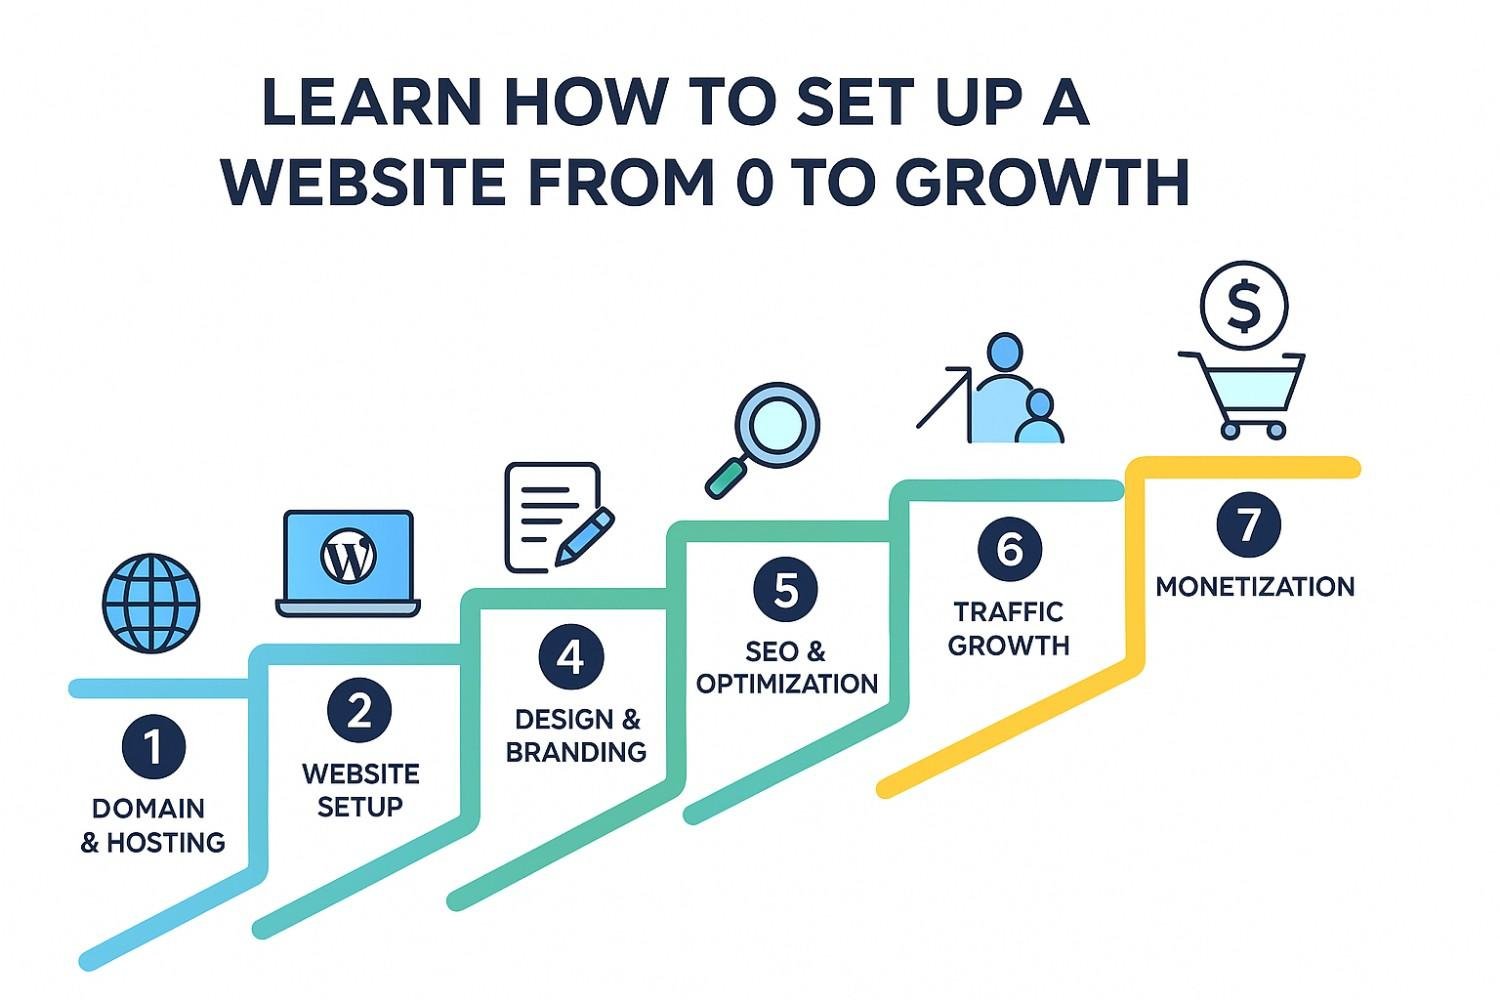
Learn how to setup and launch your blog website step-by-step as I have been doing for the last 7 years. It’s a proven strategy providing a checklist from niche selection, choosing a domain, designing a theme, optimizing essential plugins, important pages, SEO, keyword research tips and tricks, and even content strategy to get discovered and cited by search engines like Google, ChatGPT, Gemini, Perplexity, Claude, and related tools including voice-search.
By following this blog setup guide, you will be able to launch a website within 1-2 hours but the planning part can take a week but technical website setup is possible within 1-2 hours.
1 Week
Step 1: Define Your Blog’s Vision And Purpose
The first step for blog setup is working on your mission, vision and purpose. Define:
1. Why do you want to establish your brand online?
2. Why do you want to setup your website?
3. What is in your mind and what’s your goal?
4. What you want to achieve?
5. Why you want to improve your business online?
6. What is the real purpose to launch a website today? Is it all about just money, sharing information or something else?
The best way to setup a website is to first understand your mission, vision, and define your purpose, why you must focus on online, what is your expectations, this is the most logical way to understand how to setup your blog.
You need to focus on planning, develop your mindset to work for years.
For Example, if you are going to start a food recipe website, then your mission and vision should be to help people to love cooking even more, try more cuisines, different recipes, help people from different ages and cultures to adapt and try new food, write more content recipes, grow your restaurant’s visibility if you run one and more.
Ask yourself these questions and understand who you want to serve, who is your actual target audience, where do they live, and what is their age, geography in general.
The real problem is the mindset, people directly buy domain and publish a website, no its extremely wrong, you are supposed to make a blog setup checklist and it begins by defining your goals and building up a mindset.
Unlock the winning mindset within you and ask yourself first: How to setup a website for business, how to setup a website easily? Well it all starts from planning and developing a mindset of consistent performance.
Step 2: Choose A Blog Niche And Then The Perfect Domain Name
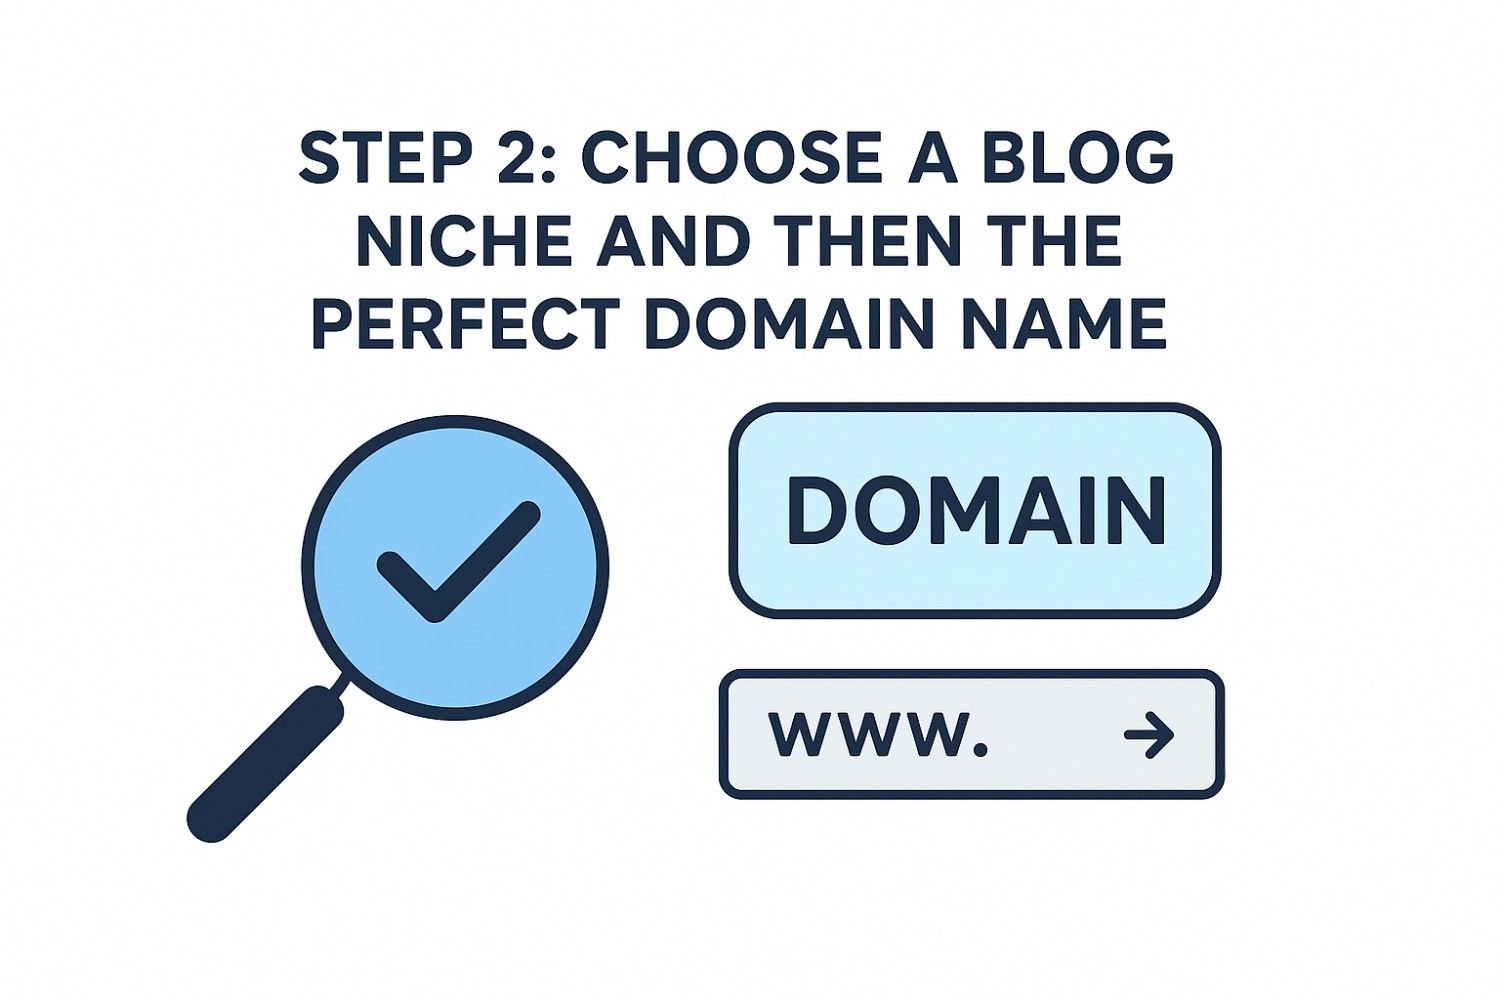
A domain name is something you should select after you have selected a blog niche. Niche is like your expertise area, like the Industry you will talk about in the future.
A niche can be broad or narrow, but it should be relevant to a particular Industry.
For example, if you want to start a food blog website, then Food is your chosen niche, and it’s too broad right? You must niche down while writing a blog to avoid the competition like vegetarian food for kids is a narrow and focused niche, Keto diet, weight loss diet for working women, etc.
Next, you must choose a domain name, it is the address of your website that people will know, it is also the name of your brand so choose it wisely, if a domain name is already taken then either contact the owner and negotiate or choose an alternative name.
For example, www.yourdomain.com is a domain name, like timelessaim.com is my domain name, similarly you need to choose your brand name, take your time for this, think about it and use AI tools to generate some ideas, search for “online domain name generator” and you will find some free tools.
Here are 2 tips for domain name and niche selection:
1. Make sure your domain name is less than 15 characters so its easy to remember and choose .com for global reach. There are multiple extensions available like .ai, .co, .org but .com is the most famous one.
2. Your domain name can also contain keyword of your niche so you get better rankings and SEO. For example, myfoodblog.com, so if someone searches something about food then your website can show up instantly. It is not mandatory, its optional but effective.
Make sure you come up with the final domain name and niche idea before proceeding to next step.
Step 3: Choose A Reliable Platform
Now that you have a domain name idea already choose a reliable blogging Hosting and Platform.
Some of the best hosting providers today are:
1. Hostinger
2. WPX
3. Cloudways
4. Bluehost
Next, blogging platforms like WordPress, Wix, LinkedIn, Blogger are some of the platforms you can choose to start your blog setup journey.
Being a businessman, its crucial to know that you need a systematic involvement of platforms, ideas and tools to get success.
Once you buy the Hosting, install a relevant platform, mainly you get WordPress which is the most popular platform that exists today I use the same platform and it comes free with Hosting.
Special Note: Buy hosting for a minimum of 1 Year to save money and get additional benefits including free SSL, added security, and many more benefits.
Step 4: Install A Lightweight Theme
Now that you have installed WordPress, its time to configure the platform.
Check out the Dashboard. On The Left Hand Side:
1. First go to posts, comments and delete the demo content.
2. Now, Go To Settings > Permalinks > Choose Post Name
3. Now, Go to Appearance > Themes > Add a new theme
There are 1000s of themes available for free on WordPress, but there are popular themes that are lightweight and you can use them to setup your WordPress website.
Always install a lightweight theme because they can help you to build an online store, speed up your website, help you to do content marketing, and search engines prefer lightweight themes installed on a website.
Some of the best lightweight themes available today are:
1. GeneratePress
2. Kadence
3. Blocksy
4. Astra
You even get free templates, ready-made websites for free with the lightweight themes.
Remember: Before you start writing blog posts, it is better to install a theme first, followed by plugins.
Step 5: Install Essential Plugins
Now that you have your theme installed, it is time to focus on installing Plugins.
Plugins are extra tools that can help you to minimize your tasks, automate things, and increase your blog productivity.
For example, blogs can help you speed up your website and load faster, improve caching, provide protection from scams, boost your website SEO, and much more.
Install essential plugins and some popular plugins are:
1. RankMath SEO (To Boost Your SEO)
2. Lightspeed Cache (To Improve Website Speed)
3. Updraft Plus (For Backup)
4. Elementor (To Design Your Website Theme)
5. Google SiteKit (To Track website Analytics and Performance)
Step 6: Create Important Core Pages For Your Website
Now that you have installed the essential plugins, you can create the core website pages that demonstrate your website’s importance and are also important for monetization.
We need to create at least 5 core pages that relate to our website and comply with legal laws and policies.
So, how do you create pages on WordPress?
Go to Pages > Add a New Page > Write Title and Body > Hit Publish > Again Add New Page
The 5 Important Core Pages are:
1. Home
2. About Us
3. Blog
4. Privacy Policy
5. Disclaimer
Remember that the Home page is your main page, and whenever we enter a website, the maximum number of times we land on the home page, so design it in the best possible way and optimize it for SEO.
Step 7: Configure The Plugins
Now we need to configure the plugins, so make sure you go to the settings of each plugin and update the settings that you prefer or keep them in their default state.
It’s better if you go to YouTube > search for each plugin configuration tutorial and update the plugin.
Make sure you configure at least configure RankMath SEO Plugin first, since it is mandatory for better SEO performance.
Step 8: Write Your First Blog Post
Now, you have the theme installed, and you have optimized essential plugins and created 5 core pages for your website, so now the basic initial blog setup for your website is done.
Congratulations, now it is time to grow your blog through content marketing.
You have already selected your niche which is food for example, so before writing your first blog make sure you start with a narrow niche like vegetarian food for kids.
Now, before writing a blog post, create a silo-structure which means that you create multiple topics or blog ideas for your selected niche and arrange them i.e., create cluster topics, create website architecture.
If you are a total beginner and have no idea what to write as your first post then use AI tools like ChatGPT to generate content ideas.
Use a ChatGPT prompt to generate content ideas. For example: Generate 10 blog post ideas for my new blog website and the niche is vegetarian food for kids. Make sure you generate low competition keyword content ideas and focus on the E-E-A-T guidelines of Google.
Now that you have your content ideas ready, its time to write the first draft of your blog post.
Go to WordPress Dashboard, on the left go to posts > add new posts > Start writing the title, then write the body > click on Publish or save draft to save the progress of your work.
To write a blog post, consider following a specific format to make sure your blog is visible to a newer audience and it ranks on top of Google.
You can consider this blog format initially:
1. Hook – add a statement or data to hook the audience
2. Add an Introduction
3. Add Body – write the main content here and use relevant keywords
4. Add an FAQ section using the RankMath SEO plugin and cover as many questions as possible
5. Conclusion
But before you start writing, optimize your content using keywords, and keywords are queries that we use to search on Google, so focus on keywords with 3-4+ words as they are easy to rank and have less competition, in short, long-tail keywords.
Step 9: Optimize The Blog Post For SEO

Now, if you have written your entire blog post then don’t publish it, you first have to configure the SEO using RankMath Plugin, then follow the checklist and get the highest possible score.
It is available in the top-right-hand side of the post page where you are writing the post.
First, add your focus keyword. With the RankMath SEO plugin you can write up to 5 focus keywords for free while many great plugins never offer that many keywords for free.
Next check every point embedded within basic SEO such as title readability, additional, and at last content readability.
Step 10: Design Your Theme Now
Alright now design your theme, go to Appearance> Themes> Customize, your theme and make changes as you like.
Alternatively, Go to Pages > Click on Create page like Home for example, Go to Edit > Edit with Elementor and now use this plugin to design your website using the theme you installed previously.
Step 11: Promote Your Content

Now that you have your website live, working smoothly, and you have written your first blog it is high time to promote your content and share it with the rest of the world.
Sharing is caring, remember? If no one sees your content then no one will read your blog and you will never gain any views and money.
Create and work on an omnichannel marketing approach i.e., focus on sharing your blog on multiple social media platforms, including YouTube, X, Reddit, LinkedIn, Threads, Facebook, and more.
The more you share, the more clicks, visits, better CTR and better engagement you will receive and it is going to be efficient.
Step 12: Optimize Your Content For SEO And GEO

Make sure every page and post on your website including your installed theme is optimized for SEO and GEO because this way you will gain trust from search engines like Google and you will receive maximum benefits in the long run.
Make sure you do proper internal linking, attract natural backlinks, offer multimedia content weekly, optimize your blog title, meta description, optimize your SEO plugin, and work consistently for at least 6 months to 1 year to start observing initial traction to grow your online business.
Track Google Analytics and notice how many views you are getting, what is the engagement rate, from where people are reading your blogs, and which blogs are popular.
,
Step 13: Monetize Your Website
Now that you have done everything, you have setup your blog website within a short period of time, continue everything consistently for 6-12 months and then apply for monetization.
First, build an audience and then enjoy the benefits.
Start by applying for Ads, focus on affiliate marketing, launch your own digital products, promote your services, attract sponsorships, etc.
Setting up a blog website means you are unlocking various options to grow your business online, unlocking the powers of digital marketing to generate more leads, sales, and even maintain brand trust.
This website setup tutorial will help you stabilize your mindset, save your time and help you position as a global leader right from Day 1, this was totally devoted and for everyone focusing on the step-by-step website creation for beginners.
Now that you know how to set up your own website then make sure you apply everything consistently and optimize for GEO and SEO.
FAQ On The Ultimate Blog Setup Checklist
How Much Money Is Required To Start A Blog?
You can start a blog website even less than 50$ for a year. You can also start a website for free using free platforms like Medium, LinkedIn, Blogger, etc but with limited features.
What Is Your Checklist For Starting Your Own Blog?
My checklist for starting a blog is to make sure I have created 5 core pages, installed a lightweight theme like GeneratePress, and optimized my blog for SEO. Furthermore, I focus on outreach and growing my user base.
What Are The Most Important Blog Checklist For A First Time Blog Owner?
For a first-time owner, make sure you have created a silo-structure for your broad niche, choose a lightweight theme like Astra, GeneratePress, focus on long-tail keywords, optimize core page for SEO, and outreach once you publish your blog post.
Conclusion On The Ultimate Blog Setup Checklist
By following the 13 simple step-by-step checklist above you can achieve the simple website setup without coding. Now I’m confident you know how to setup a professional website and earn decent money from the website.
Setting up a blog doesn’t have to be confusing, it needs to be strategic, and effective. You can now grow your online business, build your dream online store, and do smart blogging in real time.
Having a blog checklist allows you to keep track of your progress and keep it future-proof.
What’s Next For You
- Choose an evergreen niche
- Select plugins that matter the most
- Focus on SEO and long-tail keywords
- Choose the blogging platform that suits your needs, every platform offers something unique, research well before using

With 7 years of blogging experience and I have worked on multiple niche and now I want to make sure I share what I learned over the years and master Digital Marketing and Blogging for the Future in this AI World.
I hold a masters degree in Climate sciences and policy and bachelors in Environmental Sciences and I’ll make sure you will get authentic, original, fresh, data-backed content.
I’ve dedicated myself to blogging with authenticity, honesty, transparency, depth, and purpose — not chasing trends, biasness or opinions, but sharing truth-based insights, timeless knowledge, and fact-rooted research that can empower lives across generations.
TimelessAim.com is not just a blog or a business.
It is the soul’s mission — to serve the world through truth, wisdom, honesty, right knowledge and educate people about the online world through latest digital marketing information.
Every single blog, article, tool, and project is built to share authentic, unfiltered real knowledge. Restore trust in information for all.
Building a legacy, an empire that starts with selfless truth and ends in global upliftment, helpful for everyone.
When information becomes sacred, the world totally transforms – Its True.
That’s the aim — and that’s the promise of TimelessAim 🙂

